How to become a personal ETH validator in the era of Ethereum PoS?


This article comes from BanklessThis article comes from
, the original author: William M. Peaster, compiled by Odaily translator Katie Ku.
The merger has greatly lowered the barriers to entry for ordinary people into the world of Ethereum. Instead of spending millions on hardware and electricity, all you need is a laptop and some ETH.
While liquidity staking protocols offer a more accessible solution for those that don't meet the 32 ETH threshold, running their own validators helps keep the network decentralized and censorship-resistant.
Currently, you have three main options:
"Plug and play" solution (Dappnode and AVADO)
DIY hardware, pledged separately
Each of these options has different advantages.
secondary title
How to run an Ethereum validator for beginners?
If you are an Ethereum supporter, one of the most important things you can do right now is run an Ethereum validator.
Here's how to secure the Ethereum network and earn ETH by operating your own Ethereum PoS validator system.
Goal: Operate an ETH PoS validator
Skill Requirements: Intermediate to Advanced
Rewards: DIY Validated ETH Rewards APR of 4.79%
secondary title
After switching to PoS, the threshold for participating in Ethereum is lowered
Services provided by centralized providers can reduce the decentralization of the network and cause your deposits to decrease in value over time. Each participant should invest in the most decentralized way possible.
Last week, Ethereum completed the transition from Proof-of-Work (PoW) mining to PoS staking. This means that the consensus process of Ethereum has been virtualized and transferred to ETH Hodler. Now, the Ethereum network does not need to run a large mining operation to win PoW blocks, it can only be guaranteed by those who hold ETH within Ethereum itself, and use collateral as collateral to support the network.
So what follows is going to show you how to participate in ETH staking as an ordinary Ethereum user, starting with a "plug and play" node solution. But first, let's briefly touch on the importance of client diversity.
secondary title
Why is client diversity important?
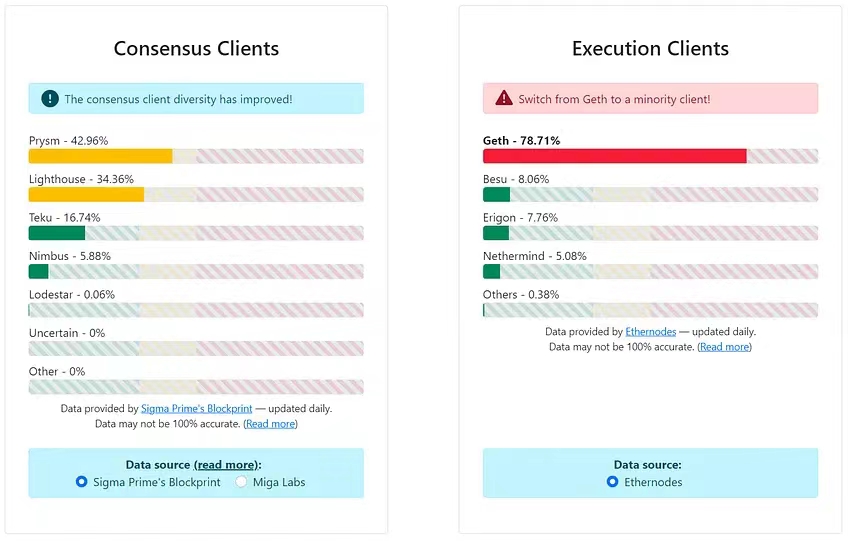
The client software determines how the node operates. Targeted attacks can destabilize a blockchain network when a majority of nodes are running on the same client.
Post-merger, Ethereum validators must run both clients: an execution client that handles the Ethereum Virtual Machine (EVM) and a consensus client that facilitates PoS consensus. As you can see from the diagram above, Ethereum validators have a variety of execution and consensus client combinations to choose from. And no single client or combination of clients is as popular as client diversity.
Now, let’s dig into which validator options are the most friendly to stakers operating from home.
secondary title
1. "Plug and Play" hardware
Dappnode
Dappnode and AVADO are the leading "plug and play" ETH validator solutions.
Suitable for: beginners
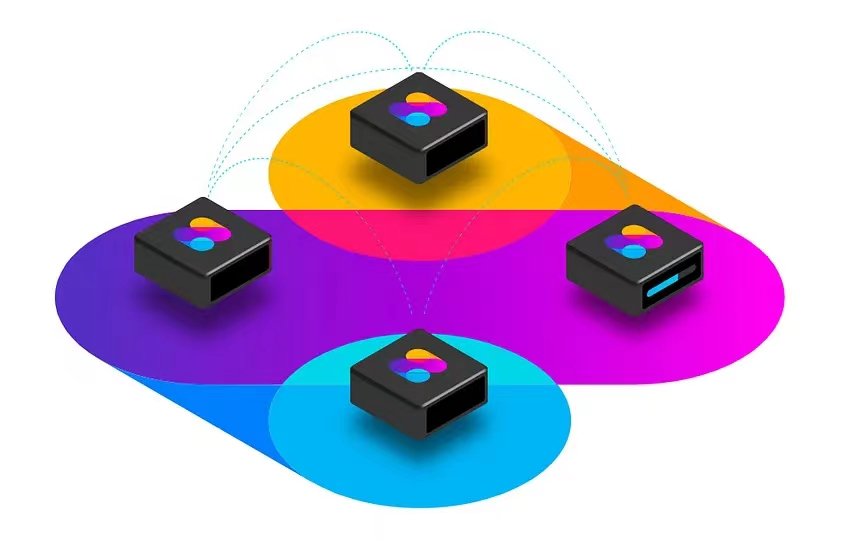
Dappnode provides hardware + software tools that make it easy for ordinary people to run their own blockchain nodes. As a result, Dappnode's devices have become a very popular base-level solution for running Ethereum validator nodes.
The advantage of Dappnode devices is that they make it easy for non-technical users to use ETH. You just plug in the hardware, and the system simply walks you through all the steps needed to go from 0 to 100 to start your own validator.
You need: 32 ETH for deposit + a generated keystore to securely store your validator private key;
Startup Tutorial: Install a client from scratch using DappNode;
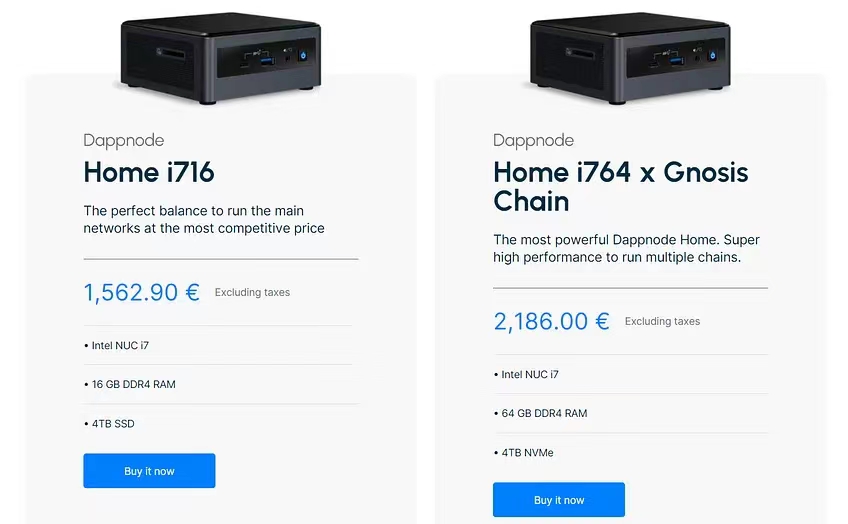
Pricing: The base Dappnode Home i716 starts at €1562.90 each.
AVADO
text
Suitable for: beginners
AVADO started as a fork of Dappnode in 2018, and since then, AVADO has moved forward in its own right and is all about simplifying the "run your own node" process for Ethereum PoS and other blockchains.
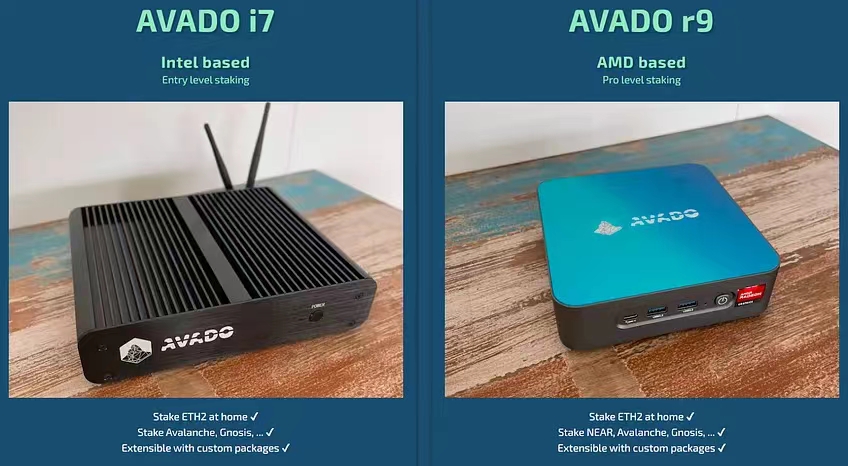
Plug in your AVADO device, follow the launcher prompts, and easily stake ETH at home with just a few clicks.
You need: 32 ETH for deposit;
Getting Started Tutorial: Setting Up Teku Authenticator/Setting Up Prysm Authenticator;
Pricing: AVADO i7 base units start at $1600 each.
secondary title
2. Solo stake with DIY hardware
Good for: Intermediate/Advanced
Are you interested in becoming an Ethereum validator, but would rather repurpose existing hardware, such as a recently replaced computer, than use a plug and play node?
This route is undoubtedly more challenging. Before you begin, understand the basic requirements.
DIY Solo staking requires:
above average technical level;
At least 32 ETH;
Hardware capable of working 24/7;
Internet speed of at least 10M bps.
That said, in addition to meeting these basic requirements, you are free to customize your personal staking settings.
Explore DIY solo staking options, involving some community resources:
Ethereum Launchpad: a one-stop information center with all the information and resources you need to become an Ethereum validator;
EthStaker - a compilation of community and resources for all things Ethereum staking;
Somer Esat's Guide to Ethereum Staking - A series of introductory tutorials explaining how to set up different combinations of Ethereum staking clients.
secondary title
3. Rocket Pool minipool operator
Suitable for: beginners
secondary title
Summarize
Summarize